Quick Start
After creating your project, you can immediately see WebSpeaker in action. In this guide you will configure content scraping, run it, and open the demo page to chat with the AI assistant — all without touching your own website’s code.
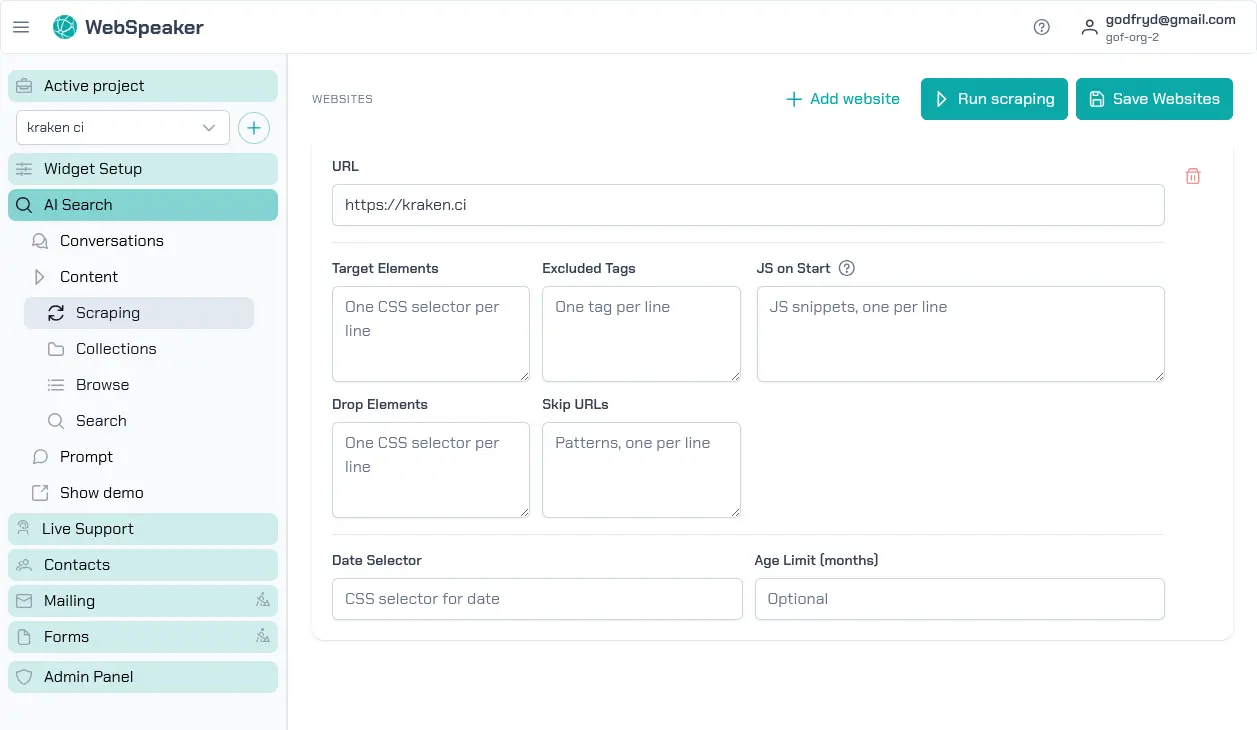
Configure Scraping
In the portal sidebar, navigate to AI Search → Content → Scraping. Add your website URL and, optionally, specify target elements or excluded tags to fine-tune which content gets indexed.
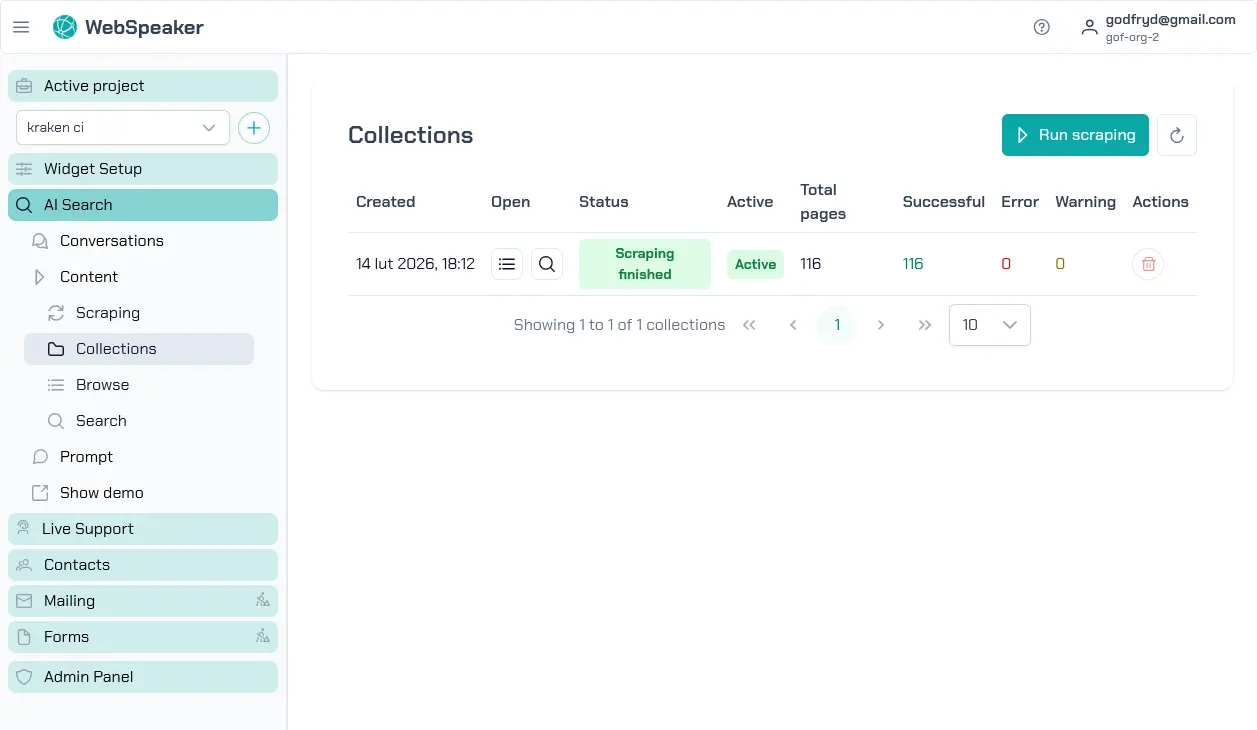
Run Scraping
Click the Run scraping button to start indexing your website. The process takes a few minutes depending on the size of your site. You can monitor progress in the collections view, which shows scraped pages and their status.
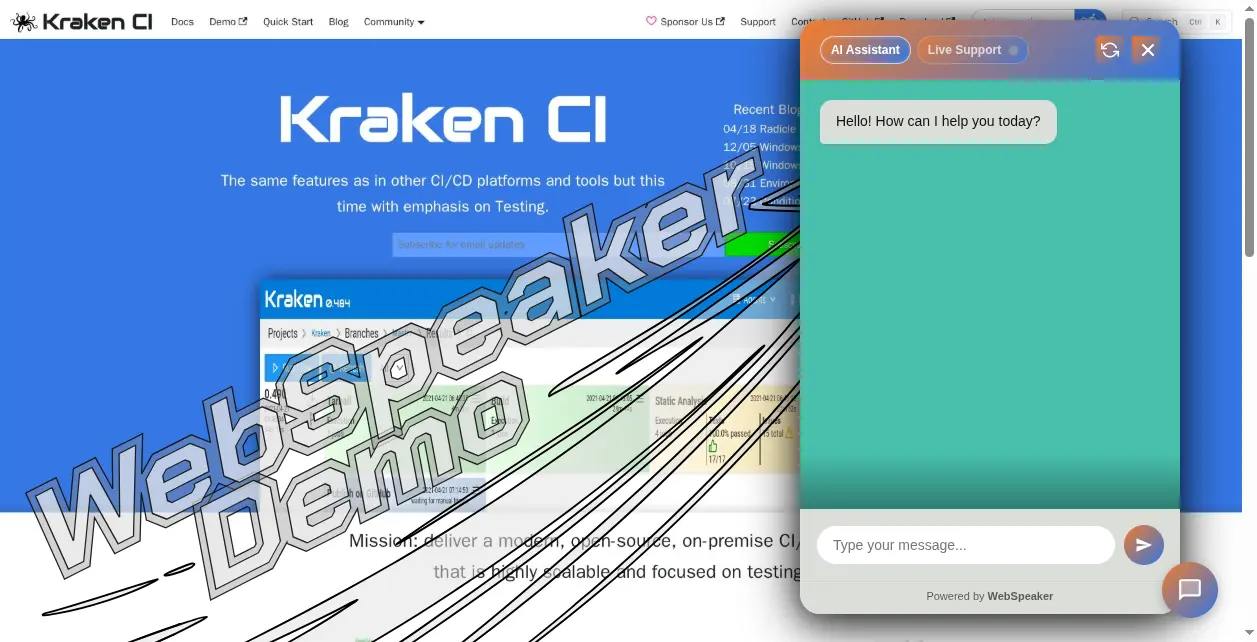
Try the Demo
Once scraping is complete, click the Show demo link in the sidebar. This opens a demo page with the WebSpeaker widget already embedded. Type a question into the chat to verify that the AI assistant can answer based on your website’s content.
Next Steps
Now that you have confirmed the widget works with your content, head over to Install the Widget to embed it on your own website.